Upload receipts using Zapier
You can now automatically upload receipts from your Gmail inbox to your Bokio company account using Zapier. This setup streamlines your bookkeeping by sending attachments directly to Bokio without needing manual upload.
💡 Gmail is just one example. You can use this setup as inspiration for other sources — like Google Drive, Dropbox, or anywhere else you receive receipts or invoices.
What This Zap Does
You’ll create your own Zap with the following steps:
- Trigger: Watches for new emails in Gmail.
- Filter: Checks that the email contains attachments.
- Action: Sends the attachment to Bokio via a Webhook.
How to create this Zap
Step 1: New Email in Gmail
- Choose Gmail as the trigger app.
- Select the New Email event.
- Connect your Gmail account and configure to choose the mailbox you want to monitor (e.g. Inbox).
- Test this trigger to make sure an email with your receipt is found.
Step 2: Filter Emails with Attachments
- Create an action - Filter by Zapier.
- Set the condition: Attachments Count (from Step 1) > 0
This ensures only emails with attachments proceed to the next step.
Step 3: Send Attachments to Bokio (Webhook)
- Choose Webhooks by Zapier as the app.
- Choose POST as the event.
- In the URL field, paste this:
https://api.bokio.se/companies/COMPANYID/uploads.
Replace COMPANYID with your actual Company ID (Here's how to find your Bokio Company Id). - Set Payload Type as
form. - Set Wrap Request in Array as
No. - Set File as Attachments from Step 1.
- Set Unflatten to
Yes. - In the Headers section, add:
Key: Authorization Value: Bearer YOUR_API_TOKEN (Here's how to find your Bokio API Token).
Find your Bokio Company ID
To ensure the file uploads to the correct Bokio company, you need to replace the companyId placeholder in the URL field in the Webhook step with your actual Company ID. Follow these steps to find the companyId:
- Log in to your Bokio account.
- Navigate to the correct company (if you have multiple).
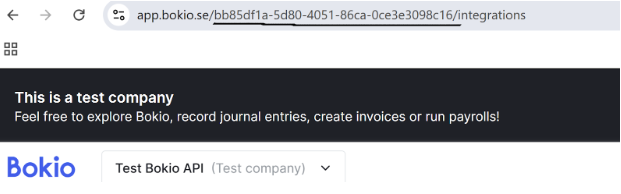
- Look at the address bar in your browser, the Company ID is part of the URL.
Example: https://app.bokio.se/123456/dashboard here, 123456 is your Company ID.
Find Your Bokio API Token
The API token gives secure access to your Bokio company. To insert your token in the Headers field, replace the token placeholder with your actual API token. Here's how to find it:
- Log in to Bokio.
- Select the correct company (if applicable).
- Go to Settings > API Tokens.
- Click Create Token (if you haven’t created one yet).
- Click Copy to copy the token to your clipboard.
✅ Make sure to keep this token secure — it grants access to your Bokio data.
You’re all set! Now go ahead and run your Zap to test the integration.
Customize This Flow Further
Although this template uses Gmail, the same setup can work with:
📁 Google Drive (New file in folder)
☁️ Dropbox (New file upload)
💬 Slack, 📸 receipt scanners, 📝 form uploads, etc.
Just change the trigger, and keep the rest of the logic.
Security Tips
- Keep your API Token and Company ID private.
- Do not share screenshots or Zap links with those fields exposed.
- Rotate your token periodically if you're using it long-term.